How to Clean and Maintain Your Ice Machine
IMPORTANT NOTE: . Our company is located in British Columbia, Canada. If you are reading this article in another location, we hope you enjoy the information, but unfortunately we cannot service you.
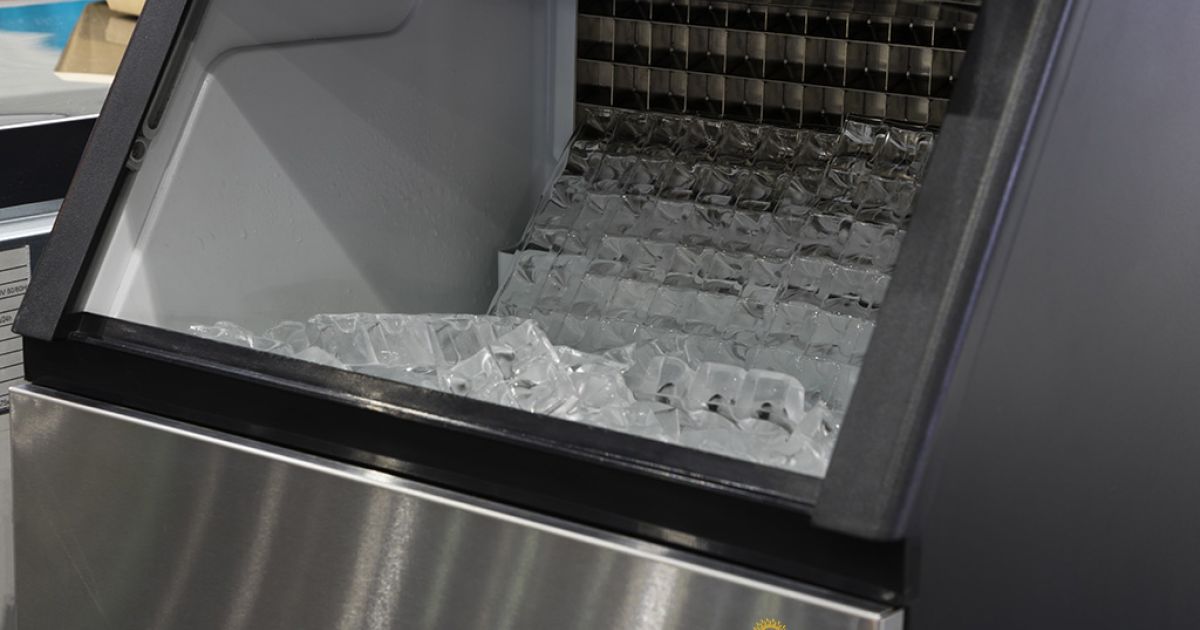
It’s that time of the year when hot drinks like freshly brewed coffee and tea are gradually replaced with their icy counterparts! Naturally if you offer beverages liked iced tea or iced coffee, you most likely run an ice machine in your restaurant, or maybe you run a pretty cool (pun intended) convenience store that sells ice cubes. Or, maybe you work at the movie theatre and help serve cold drinks?
Whatever establishment you either run or are a part of, an ice machine can bring some bonus to the quality of your beverage or frozen products. It’s when it breaks down or fails that’s less than impressive on several levels! To prevent that from happening, we’re going to go over how you can clean and maintain your commercial ice machine.
Step 1: Have your tools ready
To properly clean and maintain your commercial ice maker, you will need:
- Heavy duty rubber gloves
- Ice machine sanitizer
- A mop and mop bucket
- A cleaning solution consisting of lukewarm water and cleaner
- Empty spray bottles for the cleaning solutions
- Cleaning cloths
- A soft-bristle nylon brushes or a sponge
- Protective safety glasses for when making the cleaning solutions
- A flashlight
- The instructions manual for the machine (very important!)
Step 2: Remove any and all of the ice
If there is any ice remaining in your ice maker, you will need to remove it so you can clean it properly. Allow the ice to completely melt before you start working on cleaning. You can do this one of two ways:
- Press the power switch at the end of the harvest cycle (after ice falls from the evaporators).
- Press the power switch, and allow the ice to fully melt.
Follow the instructions laid out in the instruction manual for the ice machine in order to perform this task. The cleaning cycle usually lasts 20 minutes.
Step 3: Make sure the power is off
Once the cleaning cycle is fully complete and all of the ice has melted, disconnect the power to the ice machine (also disconnect power to the dispenser if there is one). Note that any machinery that you need to use on a regular basis needs to be shut off, including your ice machine. It may seem silly to you that we mention this step at all, but you never know…
Step 4: Remove necessary components
Again, refer to your ice machine’s instruction manual for this step. That way you can be sure the parts can be safely and properly removed and then replaced once they’re clean. Set these parts aside in a safe place.
Step 5: Prepare the cleaning solutions
Generally the water to cleaner ratio for this sort of task is to ensure there’s 1 gallon of water per 16 ounces of cleaner. Depending on how long it’s been since the ice machine was last cleaned, you may need to make a little more cleaner in order to remove the amount of mineral buildup that’s accumulated.
Step 6: Clean the parts
Use half of the cleaning solution you’ve made to clean all of the parts you’ve removed from the ice machine. If there’s foaming reactions upon spraying with cleaner, that’s normal; the lime, scale, and mineral buildup is reacting to the cleaner. That’s all it is. Once the foaming has stopped, use the soft-bristled brush or sponge to remove the mineral buildup and clean the part. Rinse them off with clean water when finished.
As you clean these parts, inspect in particular the evaporator, water hoses, water distribution parts, the water pump or reservoir, the water sensors, the thermistors (resistor dependent on temperature), and the cube sizing controls. If you spot something wrong, it’s best to call a technician for help.
Step 7: Clean the Water Filter and Condenser
As with every refrigeration unit, a water filter and condenser help the cooling and ice making processes function normally. If your ice machine is self-contained, it should have a washable filter that can trap the dust, dirt, lint, and grease that threatens to dirty your ice. Rinse the filter with mild soap and water. This task should be performed every 6 months to ensure the filter is kept in good condition. Check the water pressure while you’re cleaning to see if it drops; if so there are some restrictions that need a technician to fix the issue.
For the condenser, you will need to have the power turned off on both the remote condensing unit and the head section of the ice machine. Remember, safety first! Once the power is off, shine the flashlight on the condenser fins and inspect for dirt. If dirt is present, you can remove it one of two ways: one, rinse it with water from the inside out, and two, blow air through the condenser hose.
Step 8: Clean the Exterior
Now that the inside of your commercial ice machine is clean, you need to clean the exterior too. After all, that’s where your hands are being used the most to scoop the ice into beverages. This exterior should be cleaned as often as necessary, and thankfully this part is easy. All you have to do is wipe the outside surfaces down with a damp cloth with water to remove dust and dirt, or mild dish soap and water if there’s a greasy residue. Never, ever use any abrasive tools to clean the outside! Always refer to the manual for restrictions on cleaners and tools.
Step 9: Sanitize
Now that the cleaning process is done, it’s time to sanitize your commercial ice machine. Create a solution of lukewarm water and sanitizer in a separate spray bottle or bucket; as with the cleaner solution, your manual should indicate the correct ratio of sanitizer to water that’s needed. Use half of your newly made solution on all of the parts you’ve just cleaned. Apply the solution liberally with the spray bottle or let the parts soak in the bucket. Do NOT rinse these with water when you’re done!
As the parts are soaking, use the other half of the sanitizing solution to clean all food zone surfaces on the ice machine, the bin, and the ice dispenser. Pay close attention while applying the solution liberally to the evaporator plastic parts, the base (above the trough), and the side walls. Replace all components you’ve removed and refer to the manual for proper replacement.
Set your ice machine to start automatically making ice after sanitizing is complete. This will take 20 minutes, about the same time you need to allow the sanitizer to properly disinfect the machine. Observe a few cycles, monitoring the freeze and harvest cycle times. Throw out the first batch of ice that’s made (this ice contains sanitizer and cleaner anyway!).
Step 10: Schedule an inspection
If it’s been too long since the commercial ice machine was last cleaned or maintained, or you have no time in your busy schedule to perform these steps properly, there’s no harm in hiring professional help to do the job for you. You should never hesitate to call if you’ve identified any of the following signs of trouble with your ice machine:
- There is still dirt in the condenser, even after cleaning it
- The water pressure drops in the filtration system
- You’ve discovered a faulty or broken part
- The freeze and harvest times take too long, or no ice is released at all
- The ice quality is too poor, even after cleaning
- You’ve decided it’s time to replace the ice machine
In case you’re wondering, yes, we do install and repair ice machines for commercial businesses! If you’d like us to be the ones to clean and maintain your ice machine, or it needs an inspection or professional repairs or replacements at any time, give us a call. At Rep-Air Heating And Cooling we provide our customers with many options that will best suit your needs from heating and cooling to refrigeration. Contact us today for your complimentary quote: 1-844-218-3362 or contact@repairheatingandcooling.com and don’t forget to take a look at our website: https://www.repairheatingandcooling.com. Follow us on Facebook and Instagram for free giveaways!
Request your service today!
Our team of highly trained technicians are standing by ready to help you out with all of your service, repair, and installation needs. You can count on us for on-time repairs, professional installation, and the friendliest customer service in town!Contact Rep-Air Heating & Cooling today to get started with service by requesting a quote online, or by phone at (844) 218-3362.
Request Service
Contact us today to request an estimate or schedule service.

