How to Maintain Your Furnace Before the Heating Season Starts
IMPORTANT NOTE: . Our company is located in British Columbia, Canada. If you are reading this article in another location, we hope you enjoy the information, but unfortunately we cannot service you.
Summer is drawing to a close, meaning a swing in temperature is gradually happening. The days are getting shorter and the air will change from hot to cool and eventually cold. It’s time to shut off your A/C and turn on the furnace.
Hold on, though! Before you flip that switch to turn the furnace on, ask yourself when it was the last time you checked on your furnace. If it’s been almost an entire year, or you can’t remember, it’s time to ensure it’s working properly.
Now that it’s almost the heating season, it’s a good time to get repairs or fixes made to your HVAC systems (autumn is considered an off season, meaning HVAC professionals aren’t nearly as crazy busy if you need them!). In this case, we’re going to focus on the furnace. Here are the steps you need to take in order to maintain and clean your furnace properly.
Before Getting Started
You need to understand that there is a difference between the types of furnaces requiring maintenance. Electric furnaces are often more expensive and expand a great amount of energy so they are less cost efficient. However, they are also fairly dependable and require less maintenance thanks to their Limit controller. This prevents the furnace from overheating and may shut off the system automatically if it needs to be fixed or cleaned, ensuring that no further damage is done to the furnace.
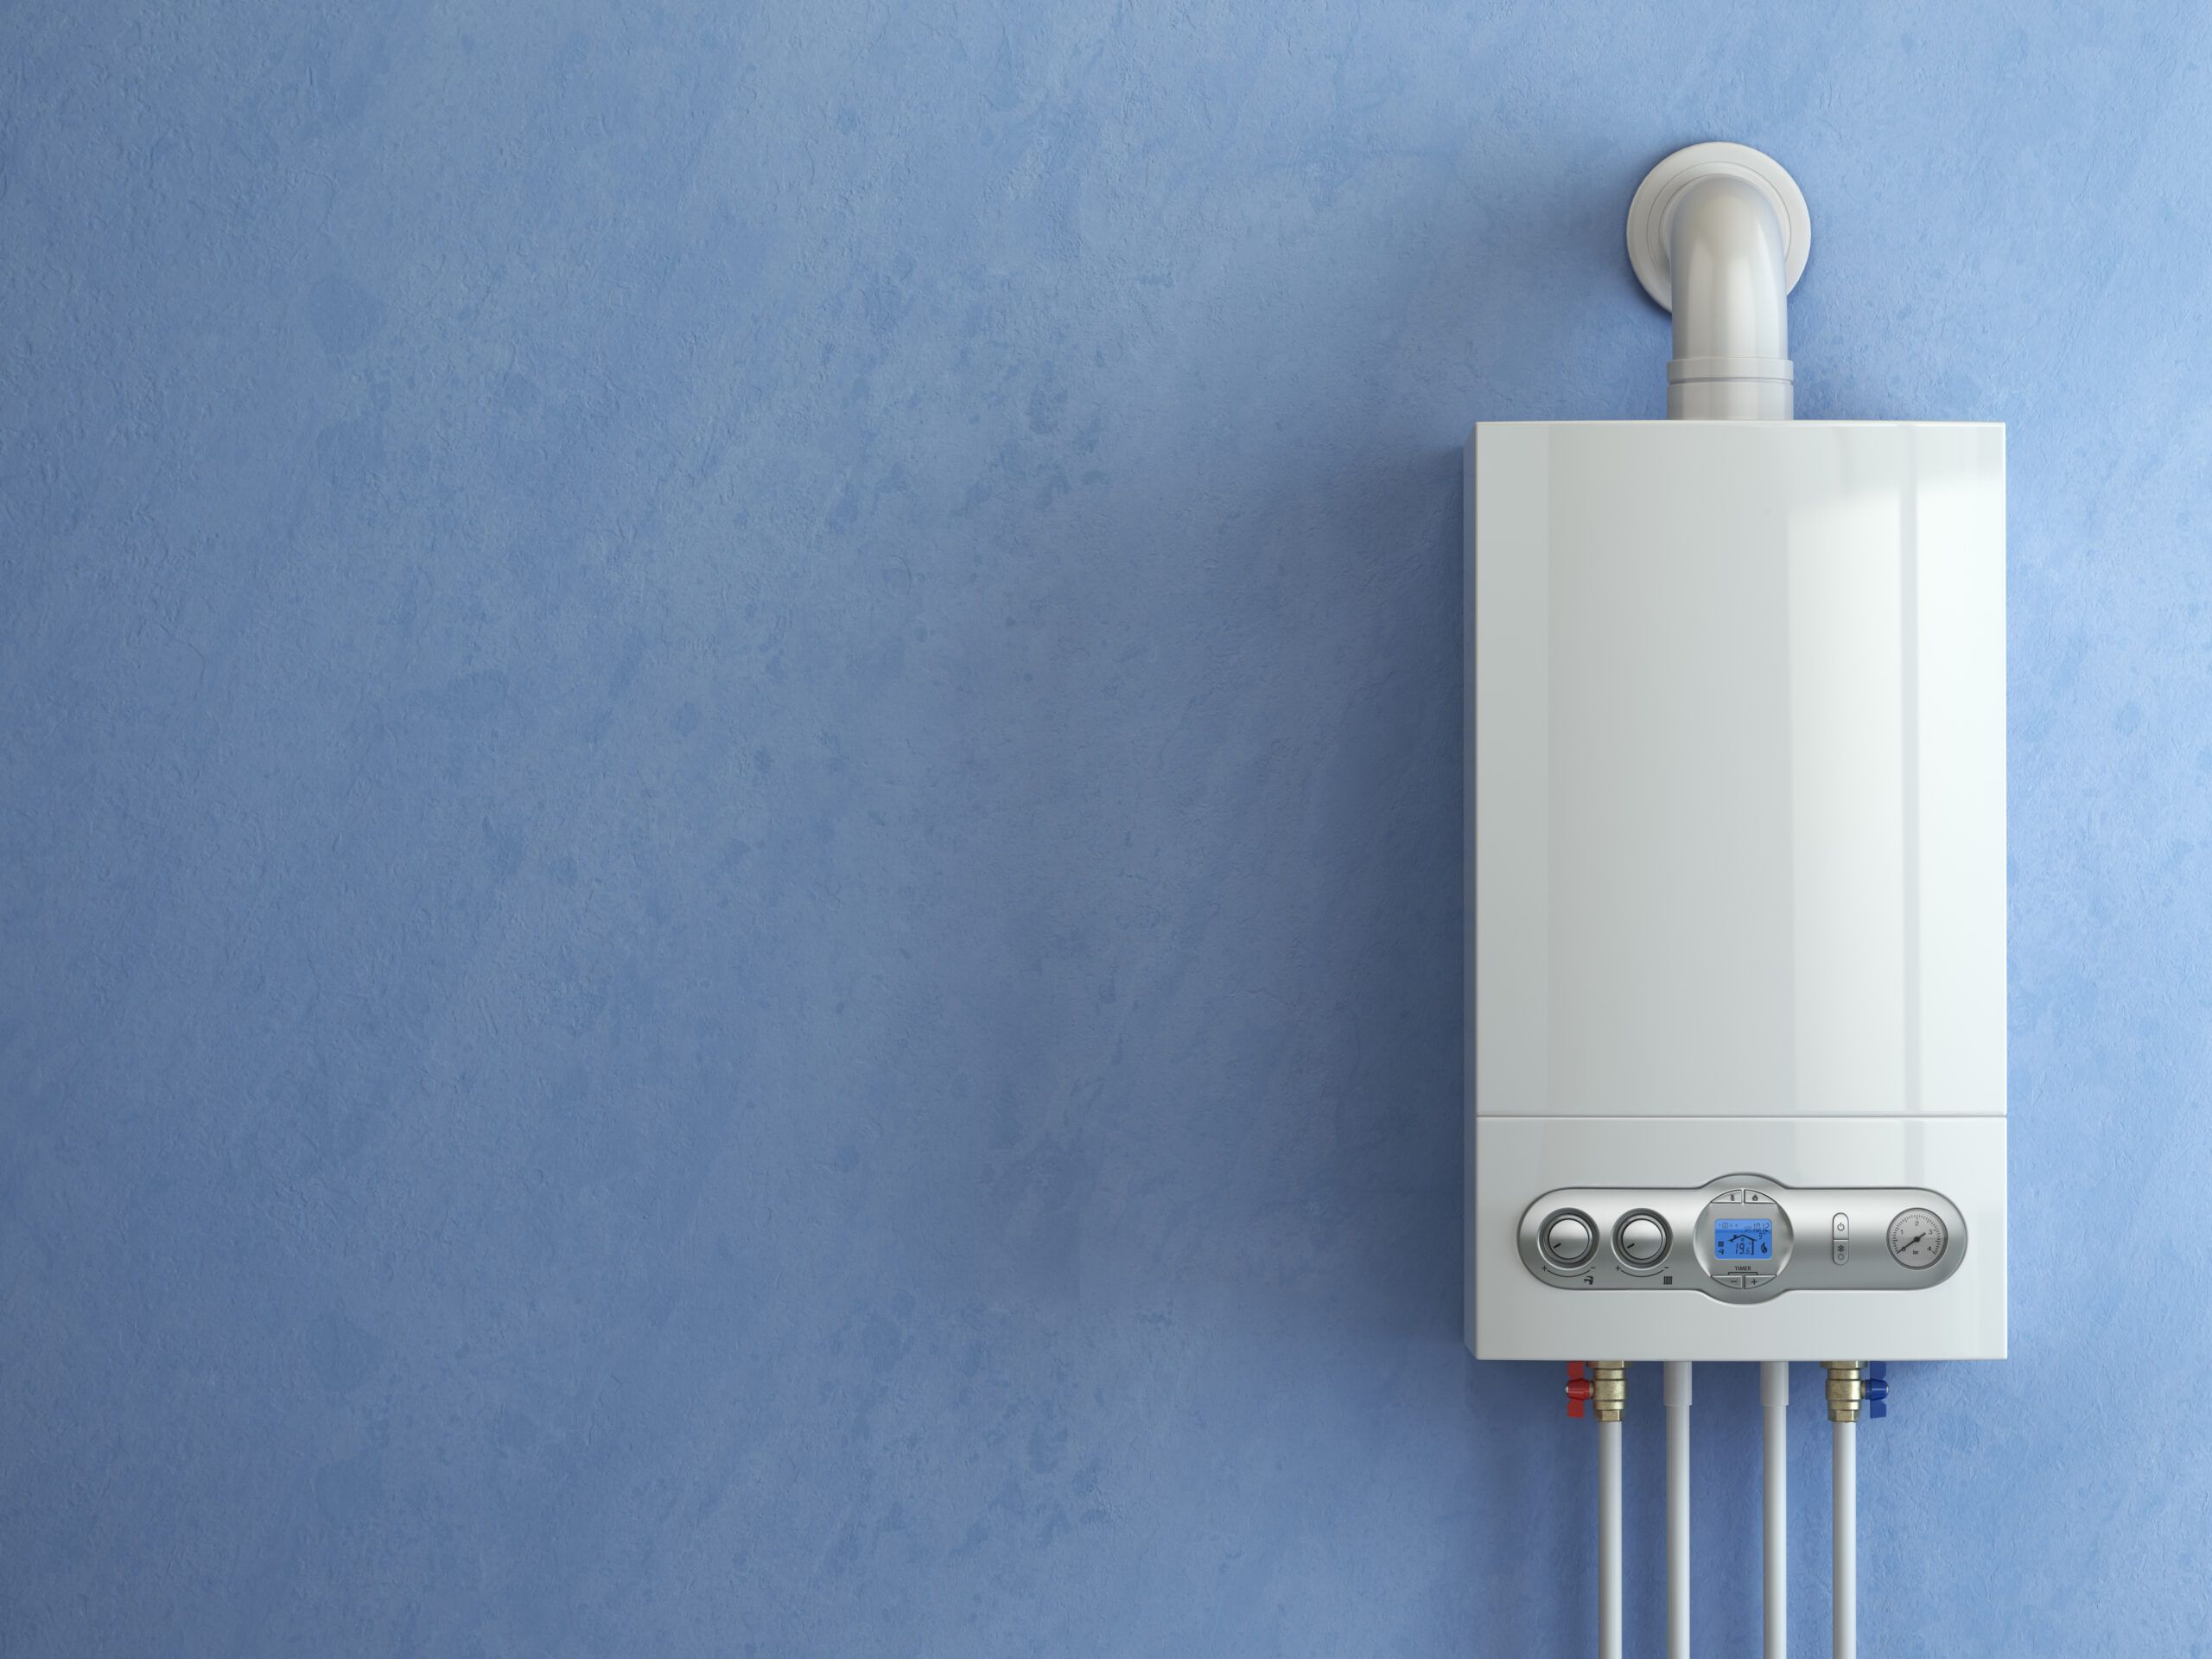
Gas furnaces, in contrast, are well-known for their cost efficiency and cleanliness, and they do require more regular, routine maintenance (typically every 2 years) so that their lifespan can be extended. Most of these furnaces use natural gas, which produces 1,000 British thermal units (BTUs) of heat per cubic foot burned. So in addition to maintaining your furnace, you need to be aware of how to ensure the natural gas is being used properly and not leaking.
Step 1: Check the Outside
The outside of your furnace should be clean and its surrounding areas free of dust, dirt, and debris. Depending on where in the house your furnace is located (usually in the basement), there should be no clutter or flammable objects such as cardboard boxes stored anywhere near or placed up against the furnace. If dust and dirt is around, you will need to vacuum and sweep the immediate outside before moving on to the next maintenance steps.
Checking on its power is also a good first step; you want to make sure it’s actually running properly. Look at the main entrance panel for any tripped circuit breakers or blown fuses. Depending on your furnace, there may be a separate power entrance usually located on a different panel near the main entrance one, or there are fuses mounted in or on the heating unit.
Step 2: Examine the Thermostat
You should always ensure the thermostat is working on your furnace before you go switching it on. Although it may not have nearly as many parts as the furnace, it is still a highly sensitive component and should be taken care of as well.
Sometimes it’s is the reason as to why heat is not being generated at all. A few reasons could include improper installation or, more commonly, dirt buildup which interferes with its calibration. Another problem with the thermostat could be corrosion thanks to loosened switches on the base and wires near the bimetallic element. These are easy fixes that your technician can check up on and clean up if your thermostat is the reason why your furnace isn’t heating properly.
Step 3: The Filter and Fan Belt
Make sure the electricity going to the furnace is switched off at the circuit breaker panel and the furnace switch before handling this task. You should typically clean the filter out every 3 months.
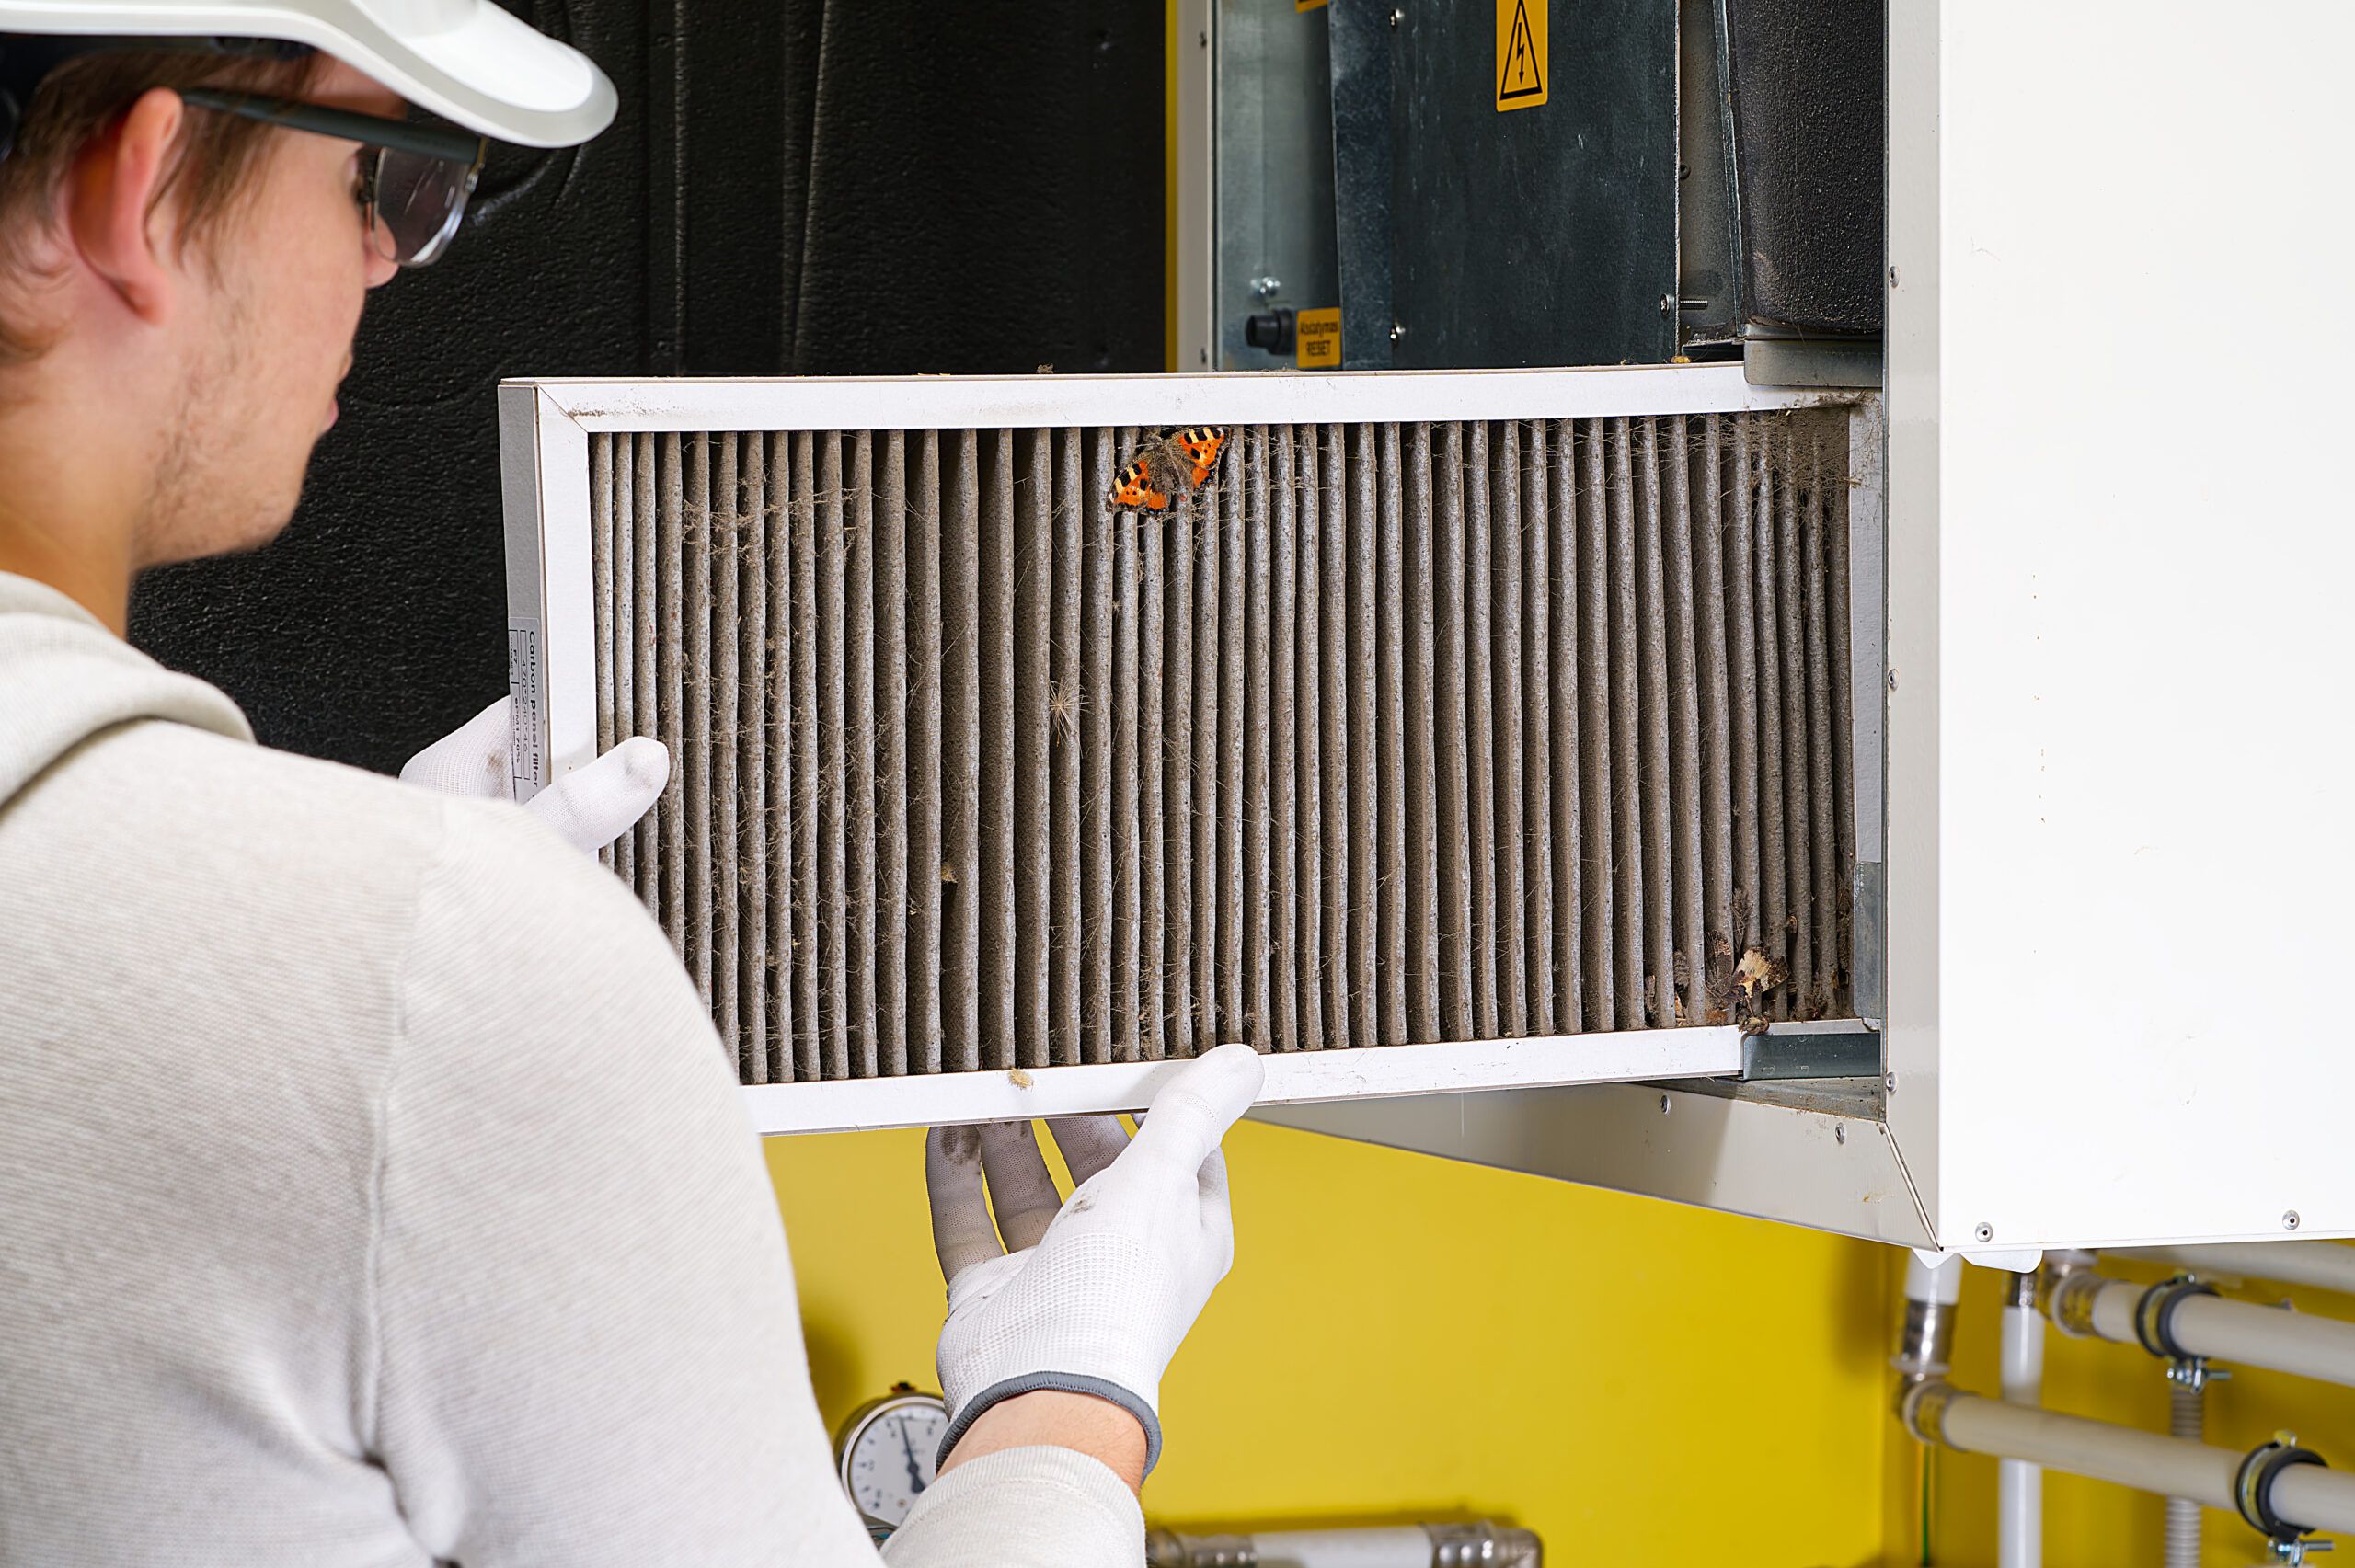
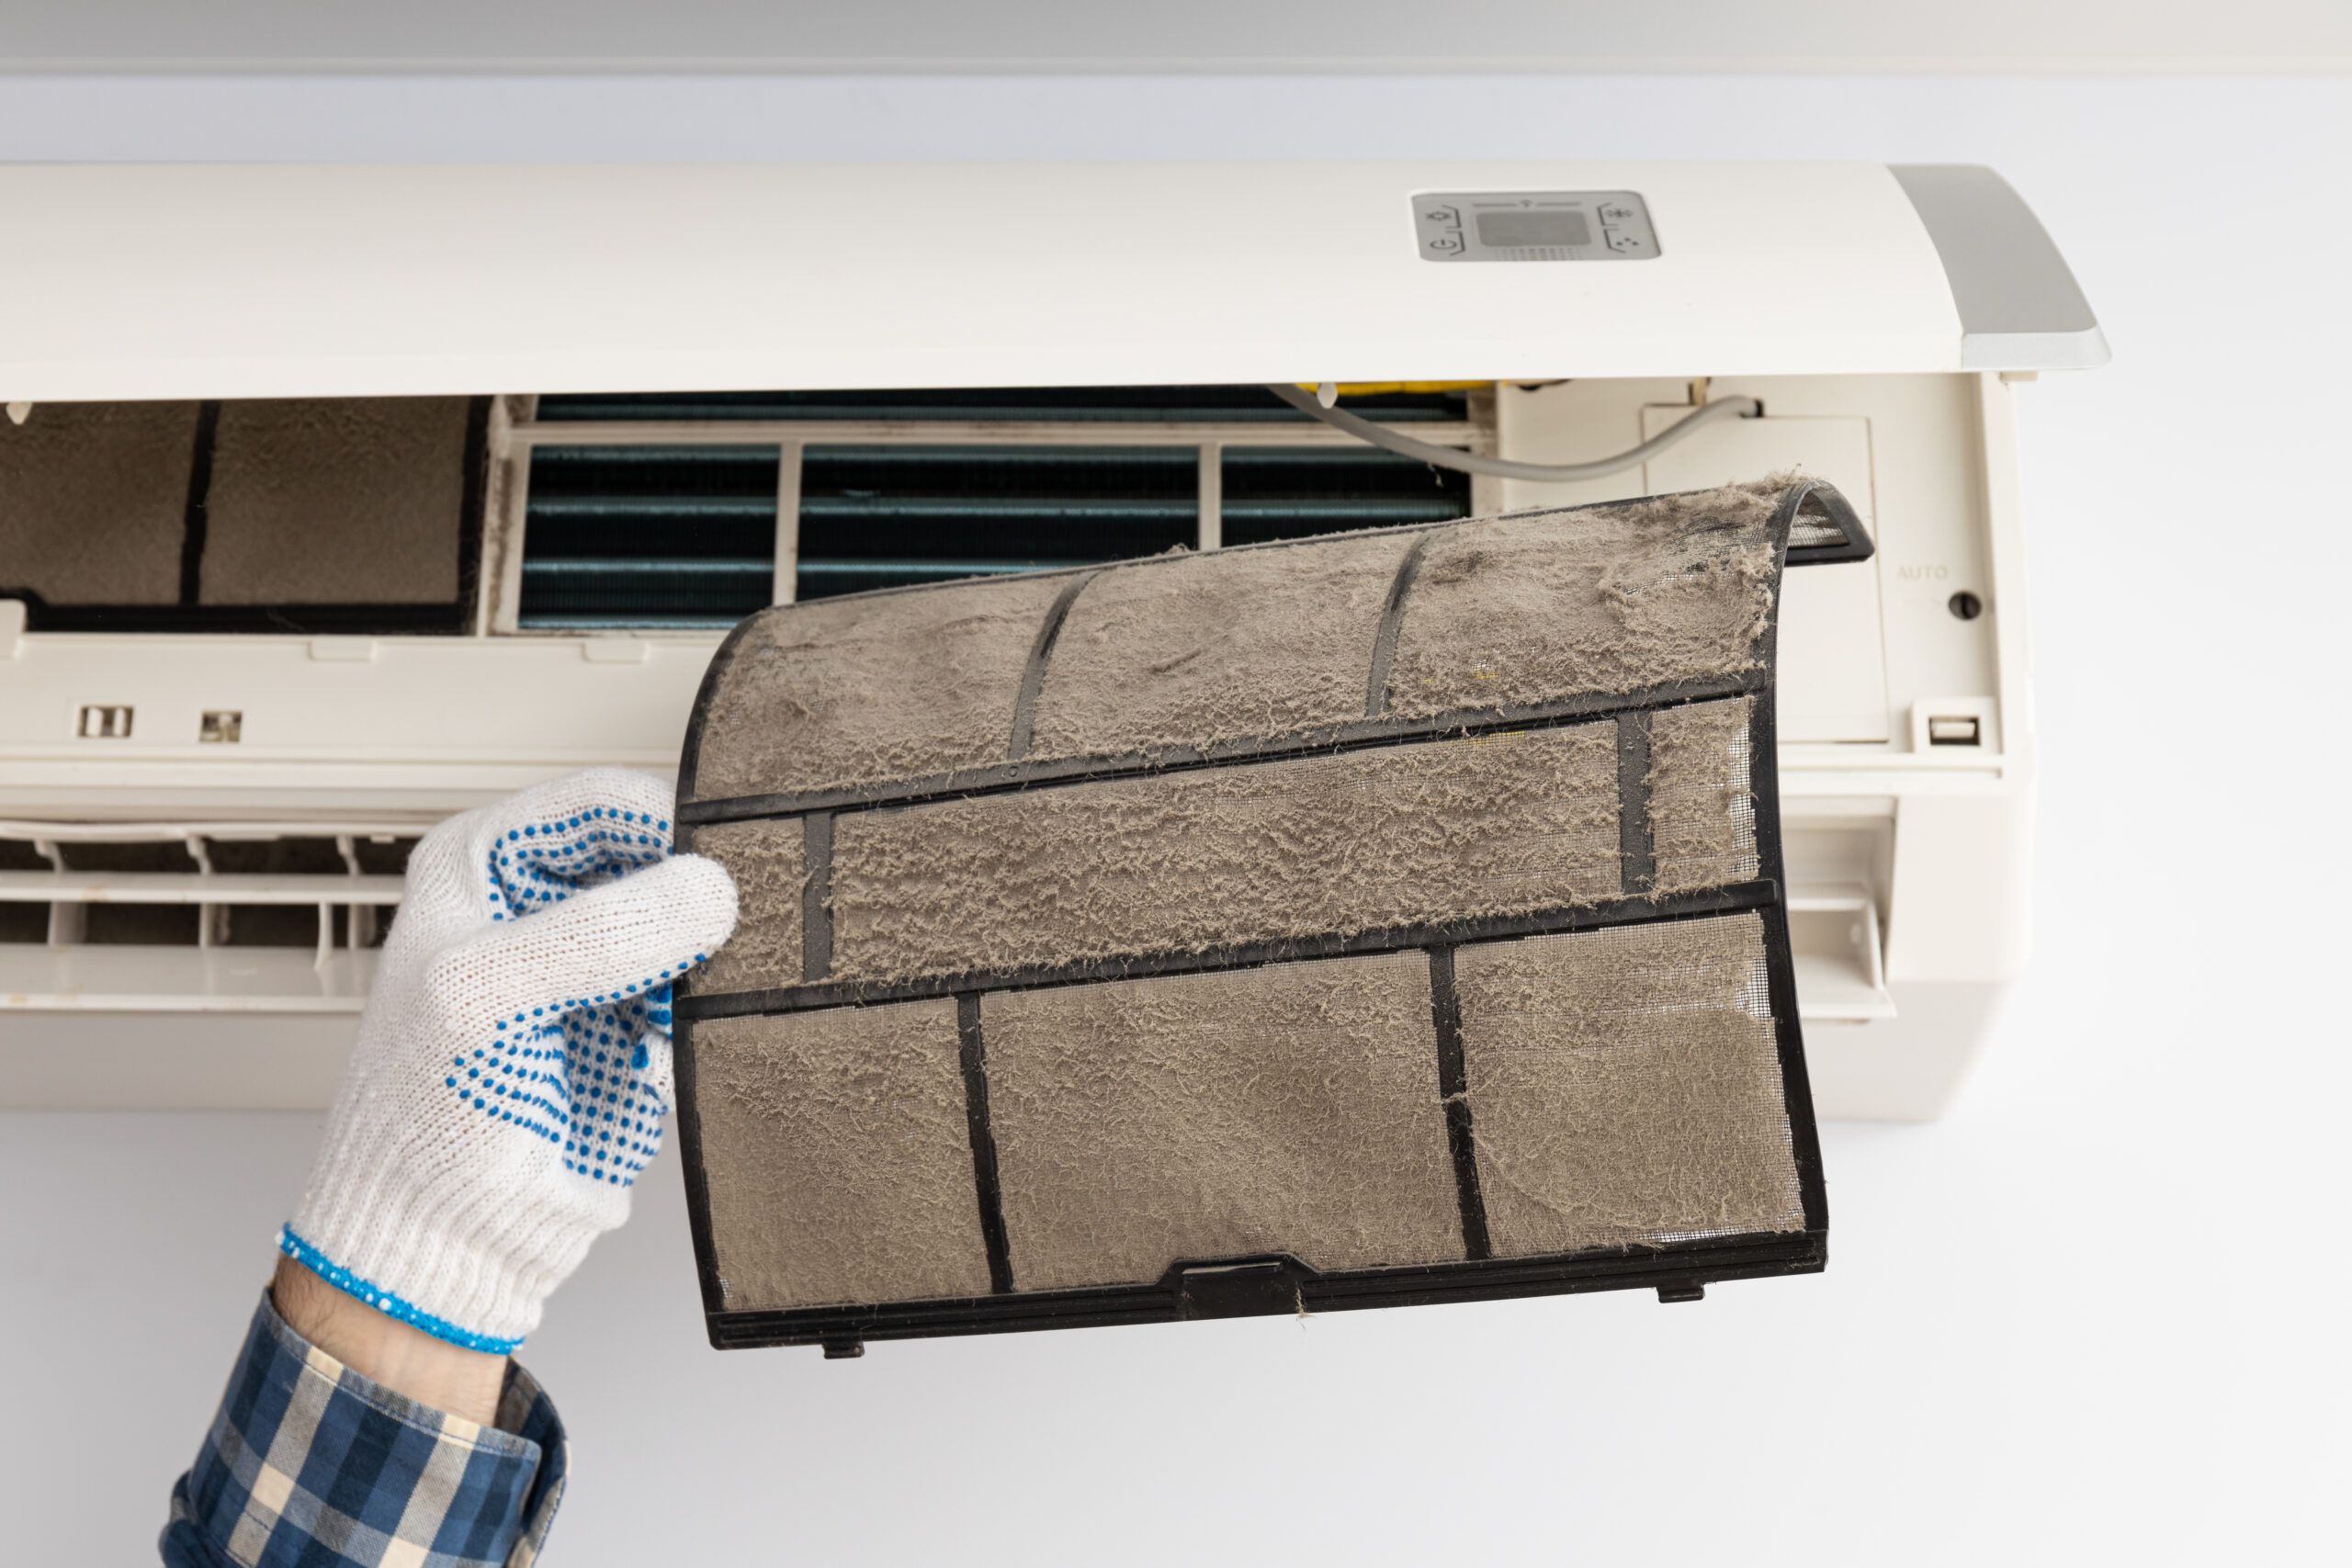
The filter is usually located near or at the blower part of the furnace held in with a clip. Gently remove the filter from its location and give it a proper cleaning with the vacuum cleaner and, if necessary, warm soap and water. Be sure if it needs to be washed that it’s fully dry before replacing the filter. Clean the surrounding area near the filter as well. After all, this component helps maintain the air quality in your home while it’s being heated up.
Perform an examination of the felt belt while also cleaning out the filter. Look at it closely to see if there are any signs of wear and tear or cracks forming. If it looks worn out, get it replaced. This step is only optional however since not every furnace comes with a fan belt built in. If yours doesn’t, you can ignore this step.
Step 4: The Pilot Light
Skip this step unless your furnace is a gas one. Check to make sure the gas supply is switched on and that the pilot light is lit or lights up. If the pilot light goes out, you will need to relight it. Follow the manufacturer’s manual on how to do this exactly. If instructions are not on hand, however, follow these steps:
- Find the pilot light assembly on your furnace. Usually this comes with a gas valve that comes with on, off, and pilot settings.
- Switch off the valve. Wait for three minutes. Then, switch the valve to pilot setting.
- Get a match, light it, and then hold it up to the pilot opening while also pushing the reset button on the control panel. Keep this button pressed until the pilot flame burns evenly and blue. Set the valve to on position once this flame burns steady.
- If the pilot flame doesn’t stay lit after these steps, it means the opening could be clogged. Turn off the gas valve, get a fine wire, and then clean the opening out using this wire. If even that doesn’t work, and you’ve made this attempt several times, it means the thermocouple—i.e. the safety device—is faulty. Do not continue attempting to fix it; instead, call in a professional.
If your furnace is electric, there will be no pilot light. Instead, the system uses an electrical element that heats up and ignites the burners. If these electrical parts stop working properly, do not attempt to fix them yourself; get a professional’s help.
Step 5: The Furnace Motor
Some furnaces come with a motor that requires oiling in order to keep it running properly. You need to make sure this motor is not overloading. To do so, wait for 30 minutes after switching the motor off and then press the reset button. Repeat as many times as needed until it’s running properly.
Oiling is required to ensure the motor works properly. Oiling points are usually located on or near the motor itself. Apply only 1-2 drops of the oil as advised by your technician or the manufacturer’s guide around every heating season (i.e. once a year). Try to avoid over-oiling the motor.
Step 6: Call a Professional for the Mechanical Maintenance
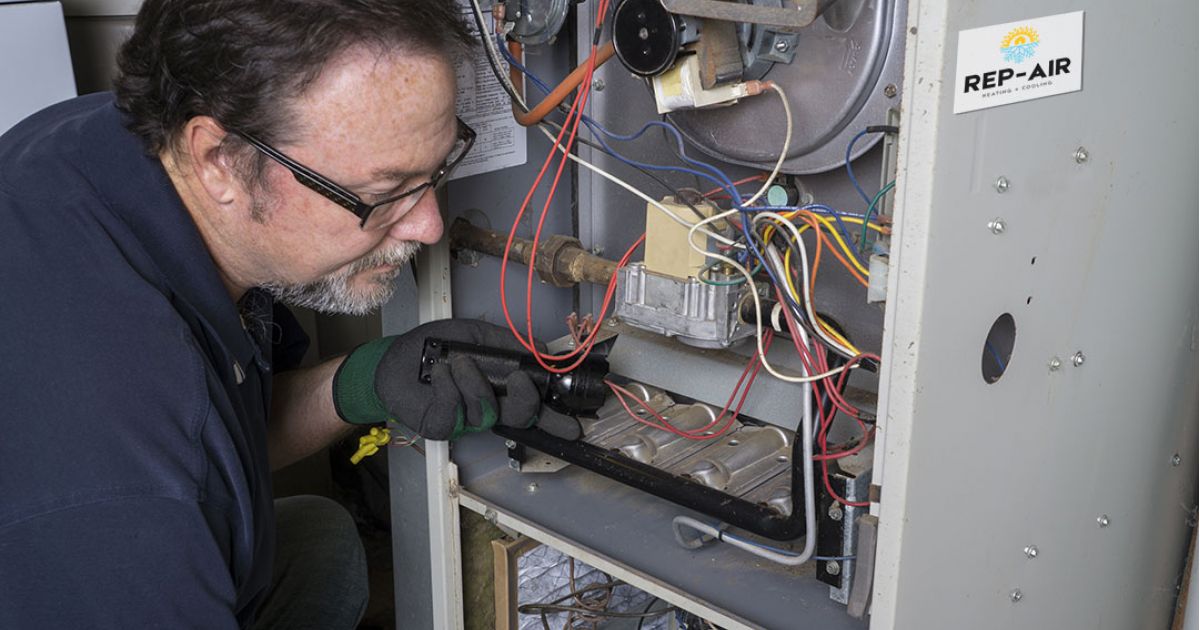
Some components of the furnace, especially the faulty thermocouple or the electrical parts of burners, should not be handled as a DIY project. These are moments when a professional HVAC technician should step in and ensure your furnace runs smoothly and efficiently again. Situations where a professional is especially recommended include the following:
- The furnace is making noise
- No airflow is coming or going through the vents
- Burning smells are coming out of the vents
- Poor air quality (too humid or dry), even after changing the filter
- A new and more efficient furnace model needs to be installed
They can also perform these tasks if you’re not comfortable doing them yourself at all:
- Tighten electrical components
- Clean the flame sensor
- Test the fan amperage
- Test the velocity and temperature rising
- Clean the burners
At Rep-Air Heating And Cooling we provide our customers with many options that will best suit your needs from heating and cooling to refrigeration. Contact us today for your complimentary quote: 1-778-728-1476 or contact@repairheatingandcooling.com and don’t forget to take a look at our website: https://repairheatingandcooling.com. Follow us on Facebook and Instagram for free giveaways!
Request your service today!
Our team of highly trained technicians are standing by ready to help you out with all of your service, repair, and installation needs. You can count on us for on-time repairs, professional installation, and the friendliest customer service in town!Contact Rep-Air Heating & Cooling today to get started with service by requesting a quote online, or by phone at 778-728-1476.
Request Service
Contact us today to request an estimate or schedule service.


