How to Prepare Your Air Conditioning for the Warmer Seasons
IMPORTANT NOTE: . Our company is located in British Columbia, Canada. If you are reading this article in another location, we hope you enjoy the information, but unfortunately we cannot service you.

Spring is starting to heat up the air at last, and for some areas in the Lower Mainland, maybe a little too much so! This season is a low one for us technicians, which is why it’s a good time to really think ahead and get some things ready while you’re spring cleaning meanwhile. If your area’s already getting a little too warm to handle, you may be considering putting the A/C on, and this is where we can help. Here are some tips on how to prepare your air conditioning system for the warmer months that lie ahead of us.
Why Now and Not Later?
Some of you may be experiencing more rain than heat and are probably wondering why we’ve decided to talk about this now, as opposed to later when it’s actually more like summer. There are actually a few good reasons for this:
- It’s been a while since you looked at your A/C. Now that your furnace is becoming less relied on with the snow melting and the air warming up outside, it’s easy to realize that it’s been several months since you looked at your air conditioning. That system is going to need more than a simple on and off switch in order to function the way you want it to.
- It’ll cost you less money down the road. As the years go on we’ve been having more summers in the Lower Mainland where we keep saying “I can’t believe it’s THIS hot out!” Having the A/C on all of the time means a lot of money being spent, so the less efficiently your air conditioner is running, the more likely it is you’re going to waste valuable dollars. You can save more money by prepping your A/C unit now as opposed to waiting until later.
- It’s smart to look before you switch it on. With all that time spent off, you may find there’s some dust accumulation (which is a very bad thing!) among other things. Preparing now as opposed to later will mean that the process of switching things on will go a lot more smoothly.
- You’re avoiding future problems. By examining your air conditioning now, you’re going to be able to spot problems that may occur down the road. If you do spot something you’re not sure about, you can definitely mention this to your HVAC technician next time you ask for an inspection. And now while it’s spring is a great time to ask us, because like we said, spring is a low season and a less busy one, so we have more time to look at your system and ensure everything is working the way it should be.
As you can see, there are a lot of great reasons to look at preparing ahead of time. Let’s go ahead and see what we can do to get ready for the warmer seasons.
Step 1: Check the Age of Your System
How long have you owned your air conditioner now? It’s worth looking at the owner’s manual or the details outlined on the machine itself. Some models come with that information on them, depending on their manufacturer. If the date is under 5 years, that’s great—you don’t have to worry about things like warranty for a while. However, if you’re looking at a machine that’s getting past its 10-15 years of usage, it’s probably time to consider getting that system replaced. Your HVAC technicians can take care of the rest.
Move on to step 2 if the age of your system is good to go.
Step 2: Make Sure the Power is Off
This may seem basic, but it matters because it involves your safety. Turn off the air conditioner at its service panel. Some air conditioners also possess a disconnection box, which typically consists of levers, fuses, or a circuit breaker. Be sure that the power is switched off here too.
Performing this task will enable you to look at the condenser in your air conditioner without being electrocuted by accident (one of the main parts you will need to examine while prepping your A/C). Because there’s typically a capacitor inside of the condenser, you should allow 30 minutes to pass in order for the electrical charge inside of the capacitor to dissipate. It’s a good idea to switch off the power to your other HVAC systems as well, such as the furnace, to truly ensure your safety.
Step 3: Clean Out the Air Filters
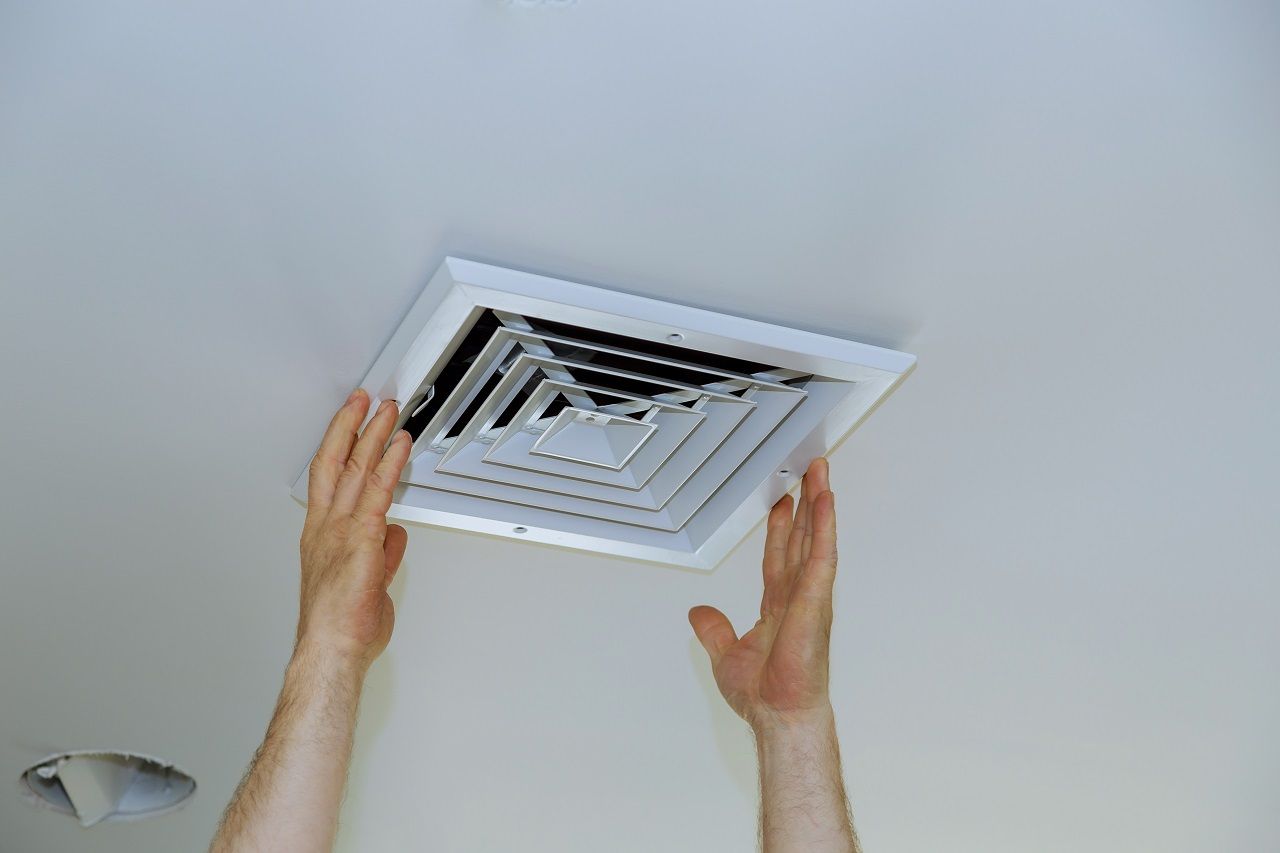
This step is the easiest to do since it doesn’t require much work other than grabbing the vacuum cleaner or finding replacement filters. Depending on the type of unit you own, you can either take this part out and clean it thoroughly before putting it back inside, or you can take the old one out if it’s grungy and replace it with a clean one.
It’s recommended to replace or clean this at least twice a year or more based on how much dust tends to accumulate. Doing this step will ensure that the dust and dirt buildup won’t circulate throughout the rest of your home.
Step 4: Clean Up the Condenser and Coils
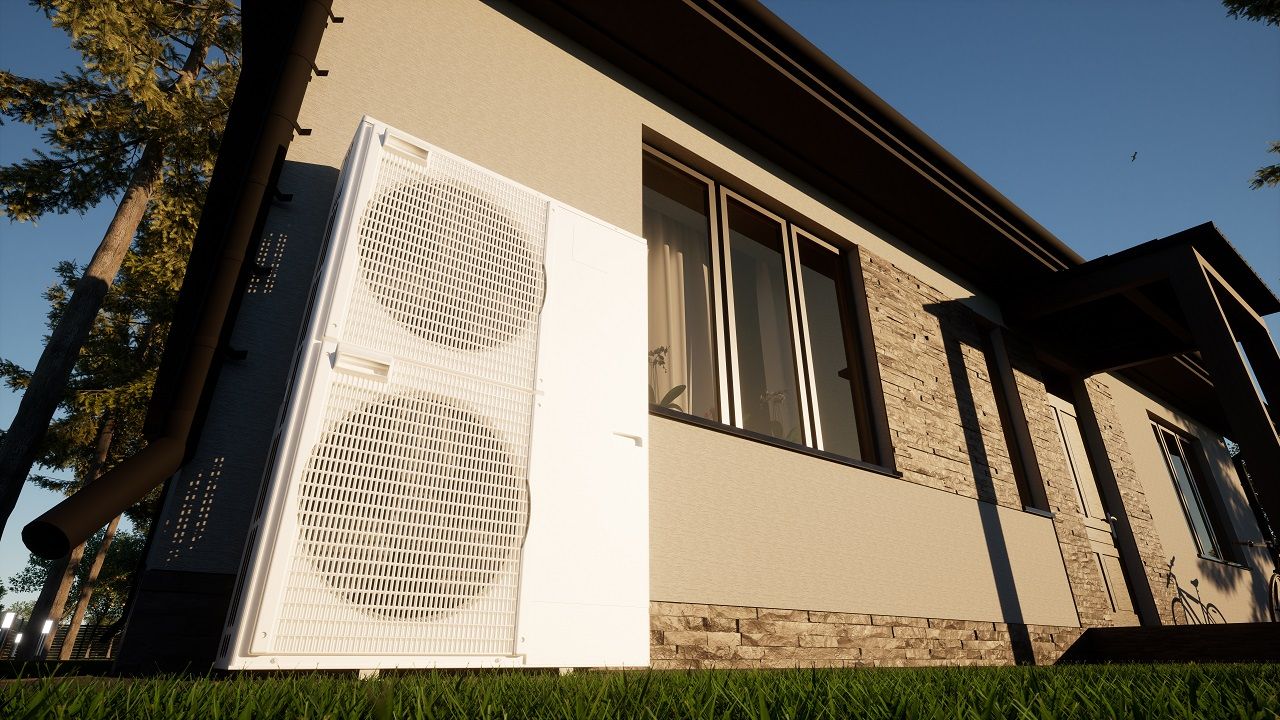
Another fairly manageable task is to clear up any debris or dirt accumulating near these parts of your air conditioner. For central A/C units, this is located outside in the form of a large metal box with grilles covering fan blades. The coils are typically seen as radiator style fins, and this is where air must pass through the cooling process. Dirt can also accumulate on these coils, so you need to clean these up too before turning your air conditioning on. Otherwise, you won’t get as efficient a cooling job of the air that you need, plus it puts a strain on your system while increasing the money spent on energy.
To clean these parts, first unscrew the side panels and pull them away from the unit, then lift the top (be careful—this part may be heavy because of the weight of the fan). Do not pull any wires that are connected to the fan. Use the soft brush of your vacuum cleaner to gently clean the coils. Do not bend or damage these coils as they are very delicate; if you do end up bending one, use a fin comb which was made for this very purpose. Vacuum the coils both outside and inside.
To clean the condenser, scoop out any debris before anything else. Then, use the same soft brush of your vacuum cleaner and a rag to wipe down the fan blades. If your condenser has a drain, make sure this is clear and no debris is present there too.
Step 5: Check Up on the Thermostat
This step is very simple. Check the switches on the thermostat to ensure they are set to ‘on’ and ‘cool’. If you don’t see a digital display of the temperature, then the batteries need to be replaced. Depending on the type of thermostat your A/C uses, you will need the exact kind of batteries in order for it to function properly.
You can ask your technician to change the batteries and run a more thorough examination if you’d prefer.
Step 6: Run a Test
Once everything has been put back together and you’re finishing cleaning and checking things over, it’s time to test the air conditioner out. This will help you be certain that your unit will run as smoothly and efficiently as you need it to when the hot weather strikes. Again, make sure your thermostat is set to ‘cool’ otherwise the test may not work!
If you still find that you’re not getting the cool air that’s typical of your system, the problem may lie deeper and will require a technician to examine and diagnose it.
Important Tips
While you’re preparing your air conditioner, it’s a good idea to keep these tips in mind:
- If at any point you detect something wrong as you’re prepping the A/C, turn the system off right away. Make note of what just happened, and then contact your technician about it.
- Don’t handle any electrical parts or problems yourself. Leave those tasks to a professional.
- Check on the air filters even when it’s not summer and replace them if needed. This is a no exception type of rule since it concerns your health!
- Be sure to keep an eye on your furnace while performing these tasks as well. Sometimes airflow problems are connected to this system as well.
Need an inspection? Let us know
We’re licensed contractors who have spent years inspecting and ensuring that air conditioners are good to go before the summer heat really sinks in. If you’ve run into a hitch while preparing your A/C and following these steps, or you need a professional pair of eyes to find trouble before it starts, give us a call. At Rep-Air Heating And Cooling we provide our customers with many options that will best suit your needs from heating and cooling to refrigeration. Contact us today for your complimentary quote: 1-778-728-1476 or contact@repairheatingandcooling.com and don’t forget to take a look at our website: https://repairheatingandcooling.com. Follow us on Facebook and Instagram for free giveaways!
Request your service today!
Our team of highly trained technicians are standing by ready to help you out with all of your service, repair, and installation needs. You can count on us for on-time repairs, professional installation, and the friendliest customer service in town!Contact Rep-Air Heating & Cooling today to get started with service by requesting a quote online, or by phone at 778-728-1476.
Request Service
Contact us today to request an estimate or schedule service.

